Changing a drill bit is important to know for the DIYer. But it can be challenging if you haven’t attempted it before.
Power tools might make newcomers nervous, and the different types and sizes of chucks can add to the complexity of the task.
So first things first, what are the different drill parts?

Table of Contents
Essential drill parts
The jaws
This piece of equipment holds the bit in place while you turn the chuck. You’ll find it attached to the body of the drill.
There are three types of jaws: straight, splined, and spiral. Straight jaws are pretty straightforward; they simply clamp onto the bit like a vice.
Spline jaws allow the bit to rotate freely inside the jaw, allowing you to move the bit around without having to stop and reattach it.
Spiral jaws are similar to splines, except they twist around the bit. They provide even greater control over where the bit goes.
Chuck
This part surrounds the jaws and allows you to open and close them. It’s usually located just behind the trigger. A good chucking system will let you adjust the amount of force applied to the bit.
For example, if you’re drilling into steel, you might want to apply less pressure than if you were drilling into concrete or soft sandstone.
The direction selector controls the direction in the chuck rotates. The most common setting is clockwise. Counterclockwise makes the chuck go in reverse.
In addition to the direction selector, some drills include a second button that lets you select left or right handed operation.
Trigger
You probably already knew about the trigger. But did you know it can actually do more than just fire the drill? Some triggers will automatically retract the chuck when you release the trigger, making it easier to reload the bit.
Others will lock the chuck in place, preventing you from accidentally firing the drill again.
Bonus Read: Best Concrete Drill Bit
Changing Bit With Keyless Chuck
Step 1
The first step to properly tighten a drill is to switch it into the counterclockwise position. To do this, you must hold down the direction selector on the side of the drill while turning the power button clockwise.
When the drill reaches full speed, turn off the power button. Now, the drill is ready to be tightened.
Step2
The second step is pretty simple. All you need to do is hold down the trigger while turning the chuck clockwise. If you don’t turn it enough, the bit won’t fall out.
But if you turn it too much, you’ll end up with a chunk of metal stuck in the chuck. To avoid this problem, make sure the trigger is held firmly and turned just enough to keep the bit from falling out.
Step 3
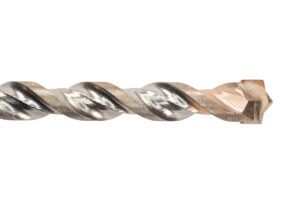
Step three involves inserting the bit into the chuck and tightening it down. First, decide whether you want to use a straight-sided or tapered shank.
A straight shank will fit better in a straight bore hole, while a tapered shank will work best in a tapered hole. If you’re unsure about what type of bit you should buy, we recommend starting with a straight shank.
If you don’t like the way the bit feels in the chuck, try switching out the shank for a tapered one.
Next, choose between a standard or reverse taper. Standard tapers are most commonly used, but reverse tapers are becoming increasingly popular because they provide a smoother finish when drilling.
Reverse tapers are typically longer and narrower than standard tapers, making them easier to insert into a larger diameter hole.
However, they require more force to pull out of a smaller diameter hole. For example, a 5/8″ drill bit requires less torque to install than a 7/16″ drill bit.
Finally, consider how many teeth you need. You can purchase bits with anywhere from five to 24 cutting edges.
Five-tooth bits are useful for shallow holes and general woodworking applications; six-tooth bits are ideal for roughing out holes and creating pilot holes; eight-tooth bits are good for finishing holes; 10-, 12-, 14-, 16-, 18-, 20-, 22-, 24-tooth bits are great for fine-tuning holes and creating countersinks; and 30-tooth bits are perfect for final finishing touches.
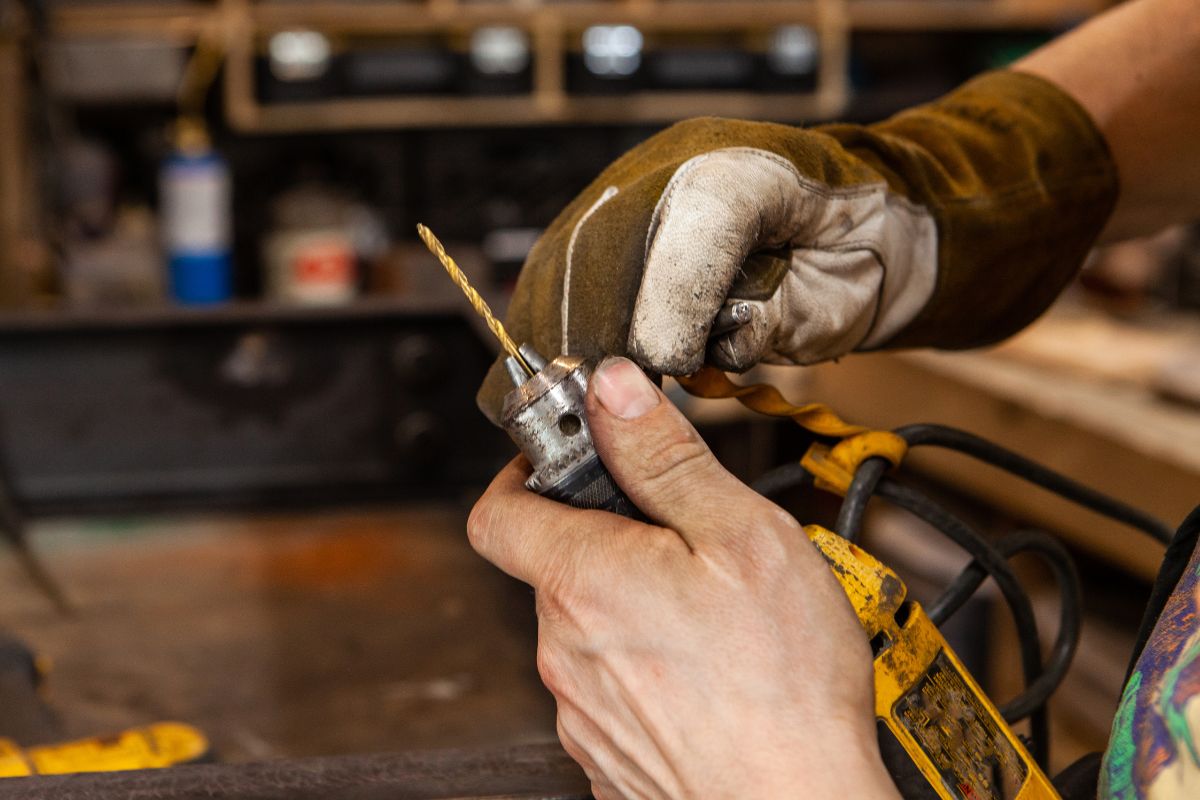
Once you’ve chosen the appropriate bit, follow our instructions above to insert the bit into the chuck. To start the process, hold the chuck steady and carefully press the trigger button.
Next, turn the chuck clockwise until the jaws clamp onto the bit. Then, release the trigger and give the handle a quick tug to ensure the bit is firmly seated.
Finally, rotate the chuck counterclockwise until the bit is fully inserted. Once finished, give the chuck another quick tug to confirm the bit isn’t slipping out.
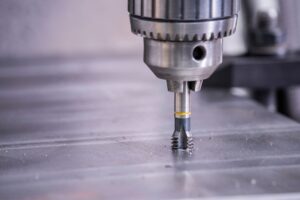
Changing Bit With Key Chuck
Corded power drills or drill presses use keyed chucks, which are similar to keyless chucks except that you must operate them with a specific tool—a wrench called a “key.”
A corded drill uses one type of chuck, while a drill press uses another. You’ll find both types of chucks under the table saw section in most hardware stores.
If you’re changing bits in a drill press, you’ll need a different wrench than what you’d use for a corded drill. In either case, here’s how to change a drill bit and replace the old one in a keyed chuck:
Step 1
Remove the chuck nut and set aside. Ensure the drill press or turn off the motor of the corded drill. Using a small screwdriver, pry up the spring tensioner lever. This is located near the bottom of the chuck body.
Step 2
Locate the hole where the chuck key fits into the chuck. Insert the tip of the screwdriver into the hole and push down to release the chuck key. Loosen the chuck key with the screwdriver. Do not pull out the chuck key; just slide it out.
Step 3
Push the chuck key fully out of the chuck.
Conclusion
Changing a drill bit on a corded drill is easy if you know how to do it. The same goes for a drill press. Just remember to remove the chuck nut first before removing the chuck key.

Jake is a tool guy – think Tim Allen from Home Improvement but with a much drier sense of humor. He lives in the great state of Ohio and plays the guitar on his downtime. He also spends his time writing on all things tools and DIY-related as this is his passion.