If you do a lot of DIY, then you’re going to have a whole arsenal of tools that help you get the job done. But in order for your tools to perform at the ultimate level, you have to make sure that you are maintaining them properly.
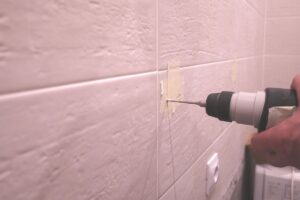
One popular tool that gets a lot of use is the power drill. These handy tools are great because they get jobs done faster and you can trust that they’ve done the job right.
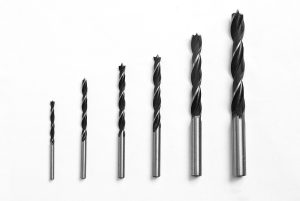
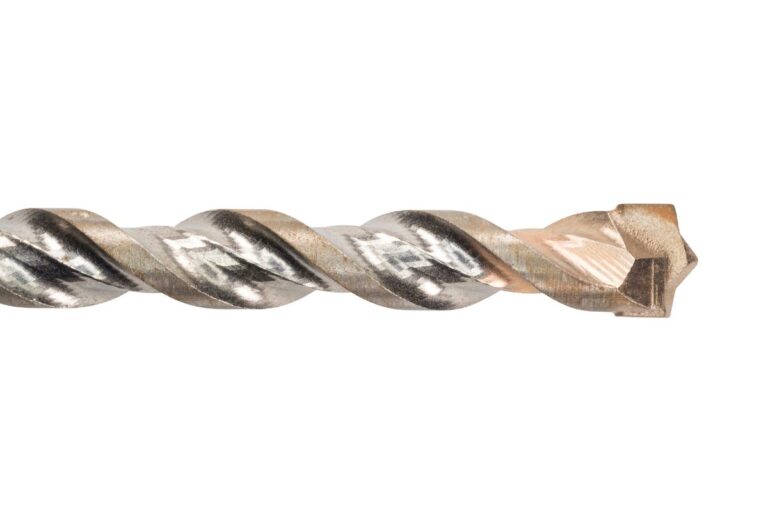
But even the best drill bit for power drills do get dull when they’ve been used a lot and this can cause a lot of issues.

When the drill bit in the power drill isn’t sharp anymore, jobs can take longer, and getting the work done can become stressful.
Luckily though, there are a few ways you can sharpen your drill bits so you don’t need to go out and replace them!
Table of Contents
How to sharpen drill bits
While there are a few different ways you can sharpen your drill bit, we’re going to take a look at one method in particular.
We’ll show you what tools you will need to sharpen your drill bit as well as guide you through how to sharpen it step-by-step.
As long as you follow the instructions exactly, your drill bit will be sharp again in absolutely no time at all!
Tools you will need
For this particular method, you will only need three tools to get the job done. The three things you will need are a bench grinder, safety goggles, and work gloves.
The work gloves are optional because it can be quite hard to grasp the drill bit when you wear them. If you are confident enough to change the drill bit without wearing safety gloves, then you don’t have to wear them.
Step 1: Examine your drill bit
The first thing you need to do is examine your dull drill bit. When it comes to sharpening them, you want to be as precise as possible and only remove enough of the metal to make them sharp again.
Grinding benches usually have two wheels on them, so the wheel you will be using largely depends on what sort of dull your drill bit is.
If your drill bit is extremely dull, you’re going to want to use the coarse wheel. However, if your drill bit doesn’t look too bad and just needs a touch-up, you will want to use the finer grinding wheel.
Step 2: Turn on your bench grinder
Once you know which grinding wheel you are going to be using, you then need to turn on your bench grinder and put your safety goggles on. Firmly grip your drill bit and hold the side you’re going to be cutting parallel to the front of the grinding wheel.
Keeping the drill bit straight, very slowly move it towards the grinding wheel until it makes contact. During this step, make sure you do not turn or rotate the drill bit, instead keep it completely still.
Step 3: Hold the drill bit to the wheel
As soon as the drill bit makes contact with the grinding wheel, keep it at the angle you currently have it on and hold it to the grinding wheel for no more than four or five seconds.
You don’t want to grind the drill bit down, you just want to make it sharp again. Try to avoid grinding the edges of the drill bit. Instead, focus on where the tip meets the shaft.
Step 4: Cool the metal
Once four to five seconds have passed, remove the drill bit from the grinding wheel and dip it into ice water so the metal can cool down.
If you don’t do this step, your drill bit will be too hot to hold and it can even wear the metal down faster.
As soon as the drill bit is cool enough that you can touch it again, check the drill bit to see if it has a good point on the side you just worked on.
Step 5: Turn the drill bit 180 degrees
As soon as you are satisfied with the point on the side you have been working on, you will need to turn the drill bit 180 degrees and repeat the same grinding process followed by the cooling process on the other side of the drill bit.
If you want the drill bit to be equal in point on both sides, you can sharpen a little on each side and flip between them every few seconds as you use the grinding wheel rather than doing one side at a time.
If you do choose to do it this way, make sure you always flip the drill bit at a 180-degree angle.
Step 6: Test run
Now you are going to want to give your drill bit a bit of a test run. Only progress with this step when you are happy with how your drill bit looks in terms of sharpness.
Get a bit of scrap wood and hold the drill bit on top of it. Make sure that the sharp point is touching the wood and is completely straight. You are then going to want to twist the drill bit by hand into the wood.
A well-sharpened drill bit will start to create a hole in the wood, so if you notice this then you have successfully resharpened your drill bit. If this doesn’t happen though, it just means you need to sharpen it a bit more.
Step 7: Put the drill bit in your drill
When you are confident that your drill bit is sharp enough again, put it back into your drill. Get the same piece of scrap wood you originally used and use the drill and drill bit on it.
It should drill into the wood with minimal pressure.
Conclusion
Sharpening your drill bits is quite a straightforward process, but don’t be disheartened if it doesn’t work the first time. You may need to practice a few times first!

Founder of HandymanGuides.com and self-proclaimed “Mr. Fix-It”, Mike has countless years of experience building and tinkering with everything under the sun. He works as a local repair guy near Santa Monica, CA and when he’s not spackling drywall, he enjoys spending time with his wife and 2 daughters.