A lot of people have used a drill for the basic things but when faced with the problem of how to remove a broken drill bit things can get tricky. The fact is how you approach the problem depends on what material it is stuck in among other things.
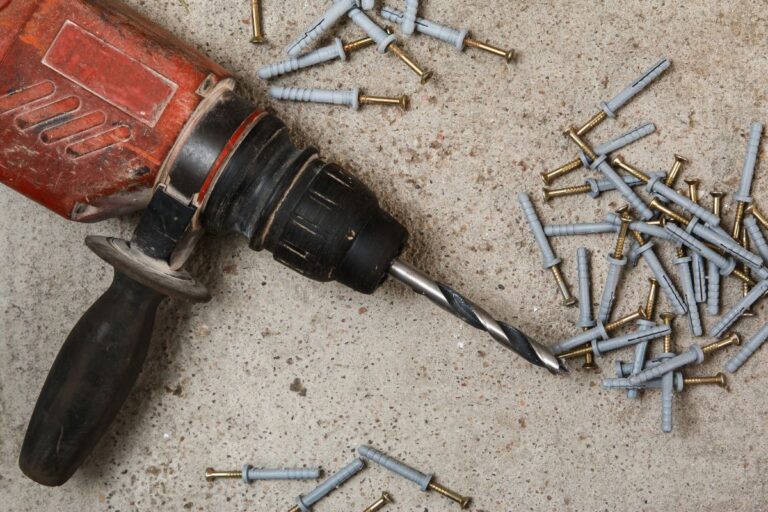
A power drill is one of the most useful tools you can have in your arsenal. They are efficient and easy to use, but keeping them maintained can seem like a bit of a hassle.
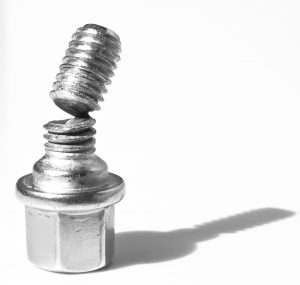
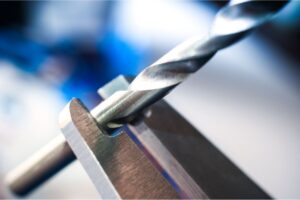
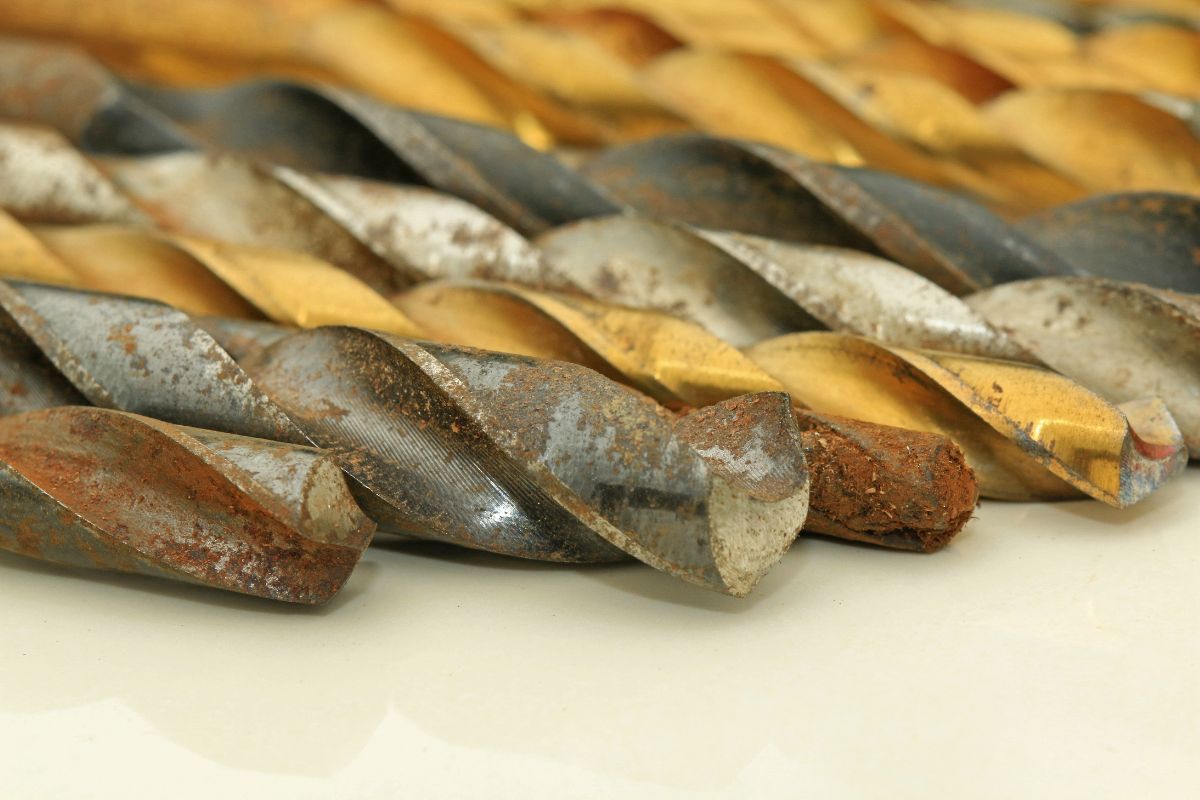
The main thing you have to keep tabs on with power drills are the drill bits. They can easily wear down and become useless, and when they break you need to know how to remove them.

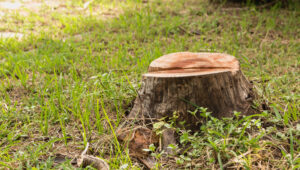
Sometimes, drill bits get stuck in wood and this can be quite stressful if you don’t know what you are doing!
If you’re trying to work out how to remove a broken drill bit for yourself then you’ve come to the right place.
We will be going over two different methods to help you change your drill bit that is straightforward and quite easy once you get the hang of it.
Table of Contents
How to remove a broken drill bit
We will be going over two different methods in this section that will help you remove a drill bit successfully and with ease.
If you’ve never removed a drill bit before, just take your time and relax. You don’t have to rush when you are performing this task!
Method 1: Pulling it out
Step 1: Use a cloth to wipe the broken bit
First, you are going to want to get a clean cloth and wipe the end of the broken bit. Most broken drill bits are coated in lubricating oil and other debris, so you want to make sure these obstacles are cleared before you work on removing them.
All you need to do for this step is use a clean cloth to give the drill bits a thorough wipe down.
Step 2: Use clamping pliers on the broken end
Once you have cleaned the drill bit, you then need to use clamping pliers on the broken end of the drill bit. Simply clamp the pliers on the broken ones and give them a squeeze. A good pair of locking pliers is a great basic tool kit to have in the home for a number of purposes and this is just one of the jobs they might be able to handle for you.
You need to continue squeezing handles until the jaws lock into place and remain closed around the broken drill bit. Give the pliers a test by wiggling them around a bit.
If they are locked into place without much resistance, you can move on to the next step.
Step 3: Rotate the pliers counterclockwise
Now you need to rotate the pliers counterclockwise to loosen the drill bit. Make sure that you keep the pliers clamped on the broken end of the bit during this step. Turn them in the opposite direction in which you were drilling.
Usually, the direction is going to be counterclockwise, but in some cases, you may have to do this in a clockwise direction instead.
It will be a bit stiff at first, but as you move the pliers more, the drill bit will start to loosen and the job will be a lot easier as soon as this starts to happen.
Make sure you don’t jerk, bend or snap your pliers during this process or you could break the drill bit further which will make it harder to remove.
Step 4: Pull the drill bit out
Once the pliers have loosened the drill bit enough, you can pull it out. Just make sure that you perform this step gently. Don’t yank the drill bit out under any circumstances.
If it’s a bit stiff and it doesn’t seem to be moving, just continue rotating the drill bit with the pliers until it starts to give way a bit.
Method 2: Screw extractor
This is a more technical method of drill bit removal for when the cloth and the pliers do not work. You will need more tools this way so make sure you have locking pliers, chisel, center punch, hammer, extractor bits, countersink drill bit and a drill. When looking at how to remove a broken drill bit this method does work. Steps for you to then take are as below.
Step 1: Protect your eyes
Because you are going to be drilling into the broken bit with this method, you need to keep your eyes protected. Put on some safety goggles before you attempt to remove the bit.
Step 2: Chisel the drill bit
Next, you are going to need to chisel off any jagged edges of the broken drill bit. Put the end of your chisel against the broken part of the drill bit and use a hammer to hit the opposite end of the chisel.
You are aiming to create as flat of a surface as you can, so you’ll be finished with this step as soon as the jagged edges have been removed and the broken drill bit is smooth.
Step 3: Make a divot on the broken bit
For this step, you need to create a divot in your broken bit by using a center punch. You just need to get a small hammer and hit the end of the center punch to make it.
Try to make this divot as close to the center of the broken drill bit as possible.
Step 4: Put a smaller drill bit into a power drill
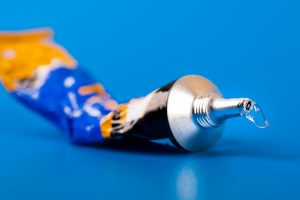
Get a power drill and insert a smaller drill bit into it. Apply some cutting oil to the end of the drill bit and place it over the divot you just created. The cutting oil will provide lubrication that will make it easier to penetrate the metal.
Step 5: Drill into the broken bit
Now you are going to want to drill about 1⁄4 inch into your broke drill bit with the smaller bit that is in the power drill. Keep the drill aligned with the broken bit and do this step slowly.
Once you are securely in the broken drill bit, being to carefully speed up the drill. Don’t wiggle the drill during this step.
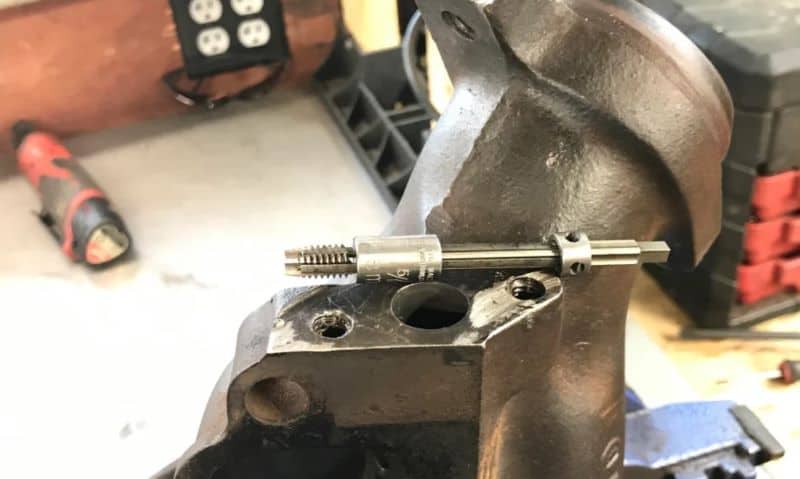
Step 6: Insert a tap extractor
Next, you will need to insert a tap extractor into the drill bit. Get the top of the tap extractor and insert it into the hole you make for the broken drill bit. Secure the extractor by tapping it into place with a hammer.
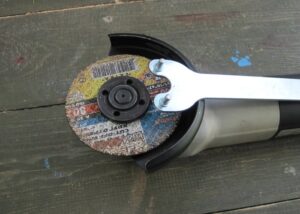
Step 7: Turn the extractor counterclockwise
Finally, turn the extractor counterclockwise to remove the broken drill bit. Use a wrench that fits the top of the extractor and start turning it. Eventually, the broken drill bit will come out.
Conclusion
There are a number of tricks you can find for removing or drilling out a broken drill bit and the above are the more common ways people try. Whether you are stuck in metal or wood will affect how easy the process is, and it may mean you need to have patience as you work on the bit to remove it. However in most cases, follow the methods we have provided for you here and your broken drill bit will be removed in no time at all!

Founder of HandymanGuides.com and self-proclaimed “Mr. Fix-It”, Mike has countless years of experience building and tinkering with everything under the sun. He works as a local repair guy near Santa Monica, CA and when he’s not spackling drywall, he enjoys spending time with his wife and 2 daughters.