Concrete leveling jobs come up more than you think when you have regular projects around the home. The top option to get the best finish is to hire an expert contractor to handle it. But if you are thinking of handling it yourself there are certain tools to level concrete you need to get the job done well whether it is for a foundation for a potting shed, for a new patio, BBQ area or something else.
Table of Contents
Popular leveling tools
- Bull float – There are two purposes the bull float serves, condensing concrete and leveling. A bull float is a piece of rectangular flat wood that has a long handle. The handle should be of a length so that you can use it from just a short distance from the concrete. Condensing and leveling are done as you push and pull the bull float over the poured concrete’s surface. You can get different sizes depending on the size of the area you are putting concrete down for.
- Shovel – A steel shovel is another of the basic but effective concrete leveling tools. There are different types of shovels, round-pointed ones, and square point shovels for so choose the best one for your job.
- Trowel – This is not the gardening trowel but a large tool also made from steel used when working to level larger concrete surfaces while also used to compress higher areas and help to lift lower areas. The trowel is useful for releasing trapped air or moisture in the concrete that may be further down.
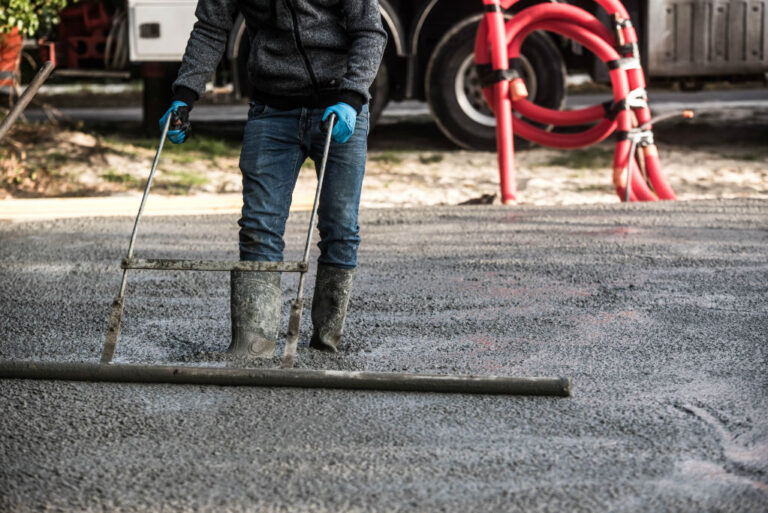
- Screed – You may not have heard of this one but a screed is another of the tools to level concrete. It is used mostly on surfaces that are uncured. As it flattens the concrete out it pushes down and makes the concrete denser and by releasing the trapped air more durable too. Often trapped air is the reason behind some concrete surfaces being weaker and easy to damage.
- Magnesium and rubber floats – Similar to wooden floats these are smaller though and handheld. The magnesium one is specifically designed to work with concrete that is very aerated and the rubber to level the surface as well as finish off fillers and grouts.
Leveling concrete the right way
1. Laying the concrete
Slowly unload the mix of concrete onto the surface you intend to place it on and then level it. Spread the concrete across the whole surface area using a rake, you do not at this stage need to worry too much about whether some sections have more concrete than others. This is what you can fix with the screeding concrete leveling tools. Just keep it all within the boundaries of the surface area.
2. Create four leveling points
The length of your screeding tool comes into play here as you need to use the length of the blade to create four or more points that are the length of the blade. Be sure to do this precisely as this is the guide you will use when you start leveling.
3. Start leveling
Now with your choice of tools to level concrete, you can start to level the surface. You need to be as even as you can with no gaps using the leveling points created to go from one end to the other using the side of the blade. Pay attention to the fall of the concrete and drainage around it. You don’t want to end up having to fix a concrete patio drainage issue!
4. Final touches
You should now have it as level as you can manage so it is time for some final touches. Do some final runs to add or remove concrete to get it smooth and level. There are different tools you can use some have you bending over, some allow you to do this while standing.
Bonus Read: How to Cut Concrete: What You Need To Know!
Summary
It is important throughout the process to use the best tool for the job and that depends on where the concrete is placed, the type of concrete used, your skill level and more. For example, a magnesium bull float works better on air-entrained concrete because it does not stick. When the concrete is non-air-entrained a wood bull float works better. Understanding nuances and different tools are how you get a flat and smooth surface. Unless you hone your skills with this work often it could be a good decision to hire someone who does.
Founder of HandymanGuides.com and self-proclaimed “Mr. Fix-It”, Mike has countless years of experience building and tinkering with everything under the sun. He works as a local repair guy near Santa Monica, CA and when he’s not spackling drywall, he enjoys spending time with his wife and 2 daughters.
