The toilet is one of the most important parts of our home. Yet, we tend to pay little or no attention to it. The only way to get the best possible lifespan out of a toilet is to ensure it is properly installed. That being said, there is also a need for periodic maintenance, especially with the wear and tear caused by its prolonged use.
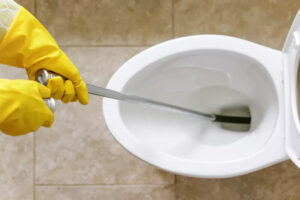
All these do not rule out the possibility of a toilet getting faulty. Fortunately, repairing a toilet is not a serious task. Rather, it is a straightforward DIY that can be executed using a few tools and the right guidance.
Table of Contents
How does it start?
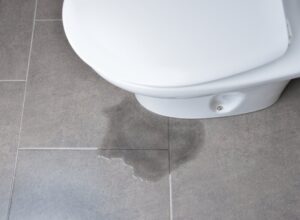
Toilets may show disturbing signs like constant leaking, difficulty in flushing, or not flushing at all. When this happens, it indicates a probable cistern problem. The toilet cistern is quite important. It is the unit that draws water from the tank, down into the toilet bowl, whenever you flush. A cracked or damaged cistern will impair the toilet’s function, at least until you install a new replacement.
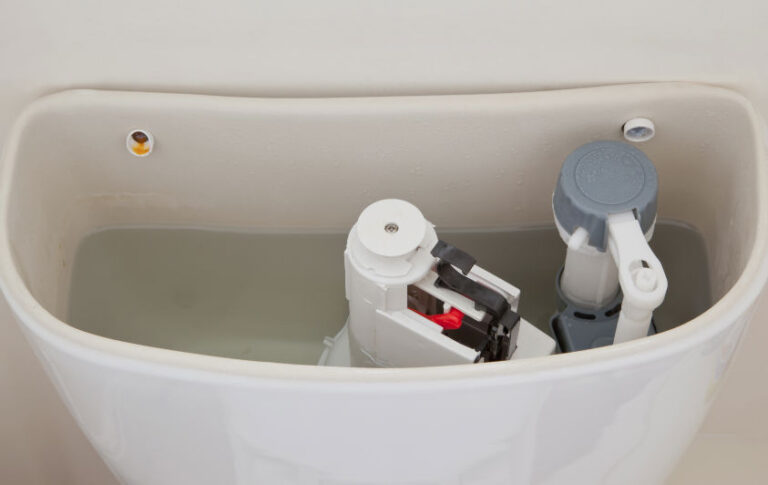
How does the cistern work?
Most toilet cistern works by drawing water from the supply pipe and fills the bowl with it. There is a valve that regulates the amount of water that gets into the system. There is also a plastic float that controls the valve. The plastic float’s role is to regulate the amount of water that gets into the toilet cistern. The opening and closing of the valve regulate the water levels in the cistern.
After flushing the toilet, the float senses the emptiness of the cistern and opens the valve. Water flows into the cistern, in readiness for the next flush. A toilet will either have a single flush button or a dual flush system. The latter is found in toilets designed to be more water-efficient – they require just 4.5 liters of water to flush. If the toilet has a dual flush system, you can press any of the buttons to flush it. One of the buttons empties the cistern halfway, while the other button empties all the water. The former is designed for liquid wastes, and the latter, solid wastes.
How to replace a faulty toilet cistern?
Yes, you can repair some parts of the toilet; the cistern is not one of them. It is always better to replace the faulty unit with a new one. The tools you need for this include plumber’s tape, a wrench, and an adjustable spanner. You can get all these, alongside a new cistern unit, at hardware stores near you.
How do you replace your toilet cistern?
The first step on how to replace a toilet cistern is to flush the toilet. Check the side of the toilet where the stop tap is located. Turn it off. Unscrew the inlet pipe using the wrench and disconnect it from the base of the cistern. Now you can unscrew the cistern from the back of the toilet, and then pull the entire unit out. Do the pull out gently to avoid removing the bolts, nuts, washers, and other toilet parts alongside it.
With the old cistern out of the way, now is the time to install the new unit. Once you are sure all the parts are intact, proceed with the installation. Position the cistern in the tank, with all the holes lining up – the one at the back of the toilet bowl and that of the cone gasket. Wrap the positioned unit with your plumber’s tape. Reattach the cistern to the water inlet before proceeding to bolt the whole unit. While you are screwing the bolts, lay down a metal washer and a rubber. Having bolted the cistern in place, turn the water back on and wait for the cistern to fill up. Flush and observe if there are any leaks. If there are none, proceed to tighten the bolts and nuts completely and start using the toilet.

Do you want to skip all the stress and get to the part where you enjoy your newly installed and perfectly-working toilet cistern? Contact a professional to handle the replacement process for you. And as always, they will be delighted to help!
Jake is a tool guy – think Tim Allen from Home Improvement but with a much drier sense of humor. He lives in the great state of Ohio and plays the guitar on his downtime. He also spends his time writing on all things tools and DIY-related as this is his passion.