Whether you’re starting out in a DIY phase, or are trying out sculpting perhaps, it’s highly likely that you’ll need to drill through metal at some point. Now, this might sound a little intimidating, so don’t worry!
In this guide, we will go through everything that you need to know in order to drill through metal totally painlessly. What tools do you need? What technique should you use? All will be revealed throughout this article.
Table of Contents
You Need To Protect Your Eyes
As they always say, safety first. Before you even think about drilling through metal, you need to make sure that you have the appropriate eye protection.
It can only take one tiny stray bit of metal to cause a serious eye injury or even blindness, so goggles are an absolute must.
For maximum protection, you should get goggles that also wrap around the sides of your face.
Create A Dimple
If you’ve ever drilled anything, you will know how distracted drill bits can get, and how they like to wander when they’ve first started. This is why we create pilot holes in wood. The metal alternative is a dimple.
Mark where you want to drill, then use a center punch and a hammer to make a small dimple.
This will guide your drill bit in the right place as you start to drill, and should prevent it from veering off in the wrong direction.
Use Lube
I swear we’ll be getting to the actual drilling soon, you just need to make sure that you are properly prepared.
There’s a simple rule that goes “a lubricated bit lasts longer”. This is because lubrication reduces friction and heat build-up, which will make drilling easier, and wear your bits out a lot slower.
If you’re drilling holes in thick steel (like ⅛- inch thick), you will absolutely need to use a cutting fluid in order to make the job ten times easier.
However, for simple and thin metals like aluminum, you can probably do without multipurpose oil and lube – but if you find that it’s difficult, try lubricates before you give up.
Use Clamps
Another safety tip here! Never hold a piece of metal in place with one hand whilst drilling it with the other. All it takes is one little slip and could be the emergency room for you – if you’re lucky!
In order to reduce the chances of major accidents, always use a minimum of two clamps to securely hold the piece that you’re working on, freeing up your other hand to provide stability to the drill, and, most importantly, to keep it well away from the end of the drill.
You Don’t Need A Fancy Drill Bit
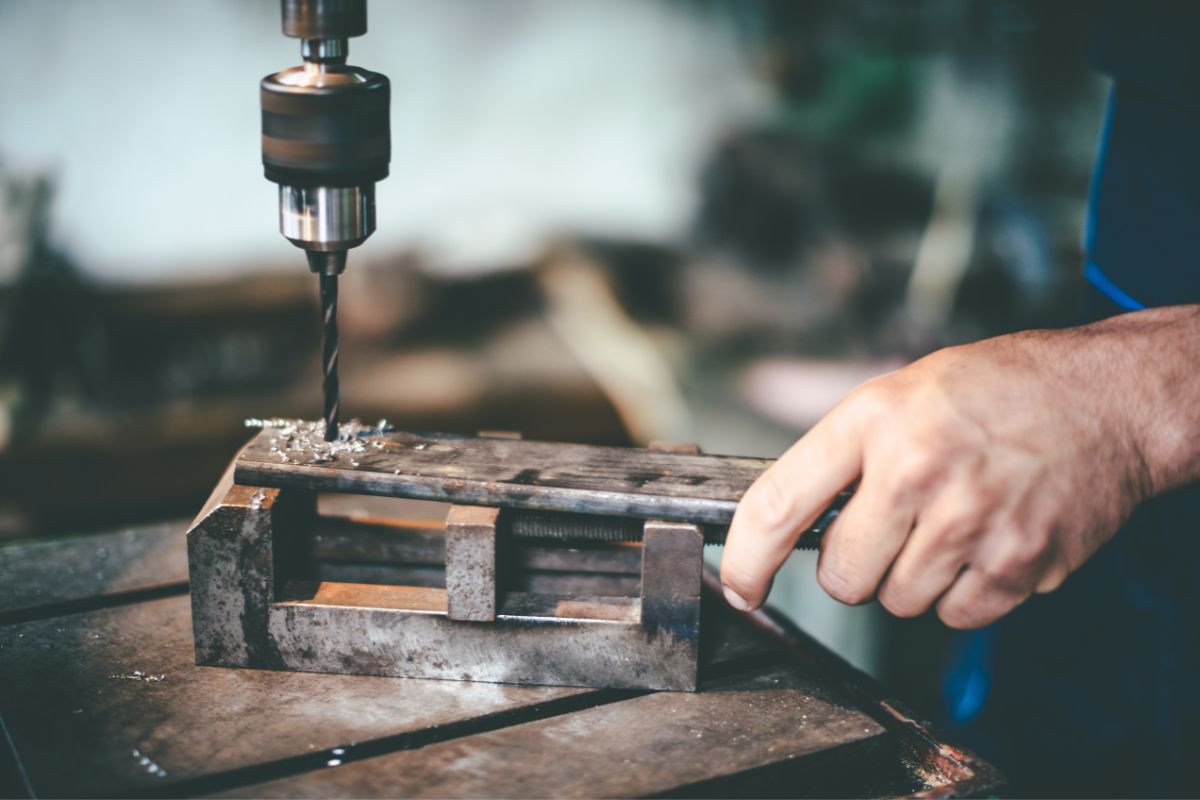
Though it sounds like you’d need one of those carbide drill bits or at least something extra durable, you will actually be able to drill through metal just using the general, all-purpose twist drill bits.
Even the least expensive twist bits are made of HSS (high-speed steel), which is absolutely fine for the majority of metal drilling tasks.
If you think you’ll be drilling a lot of holes, or through a more abrasive metal like cast iron, then you should shell out a couple of extra bucks for some cobalt drill bits. That way you’ll be able to drill more holes before they become too dull.
However, if you’re wanting to, and your budget allows for it, you can get special bits with a titanium nitride coating which have been claimed to resist heat and friction, meaning they’ll last a lot longer than HSS bits, especially when drilling metal.
Start With A Small Hole
Okay, finally on to the actual drilling! If you’ve followed all of our instructions then you should be more than ready to start your perfect metal drilling.
If you need to create a large hole in the metal, always start small. Yes, you can get drill bits that go up to a one-inch diameter, but you’re much more likely to break the metal or cause ridges if you go straight in with the biggest drill bit you have.
Instead, start off with a ¼-inch hole, and keep drilling successively until you get to your desired size.
Drill Slowly
When you drill quickly, things start heating up. And heat can end up with dull bits much quicker than drilling slowly.
The typical advice that you’ll find is that you should drill through metal as slowly as you possibly can to keep the heat down and keep your bits in peak quality.
Generally, you should be able to drill through metal at about 3,000 rpm, if you’re using a small bit. Larger twist bits should only go 350 to 1,000 rpm – low and steady wins the race and the drill bit beauty contests.
Deburr The Holes
Once you’ve drilled your hole into your metal, you’ll probably find that the edges are rough and covered in burrs. This can cause a health and safety hazard, as well as being generally untidy.
Though you can get a fancy deburring tool, and these work really well to neaten up your drilled holes, there is a little trader secret I can share with you.
Take a twist drill just slightly larger in diameter to the hole that you’ve created, and hand-twist it over the hole. You should find that this smooths out the rim and grinds away any burrs.
It probably won’t be perfect, and certainly not as neat as deburring done with a specific tool, but it should be good enough for most DIY projects.
Final Thoughts
Okay, so there are some top tips for drilling through metal, taking you through the preparation stage to the final finishing touches. This should help you with your next DIY project or IKEA hack.
Good luck, and remember: always put your own safety first.
Jake is a tool guy – think Tim Allen from Home Improvement but with a much drier sense of humor. He lives in the great state of Ohio and plays the guitar on his downtime. He also spends his time writing on all things tools and DIY-related as this is his passion.

