Hanging a shelf, a big clock, or a new bathroom mirror? Sometimes, even a framed photo, painting, or picture is even too heavy for that drywall, plasterboard, or gypsum board to securely and reliably support – which is why you’ll be looking to install a simple wall anchor. But in this piece, we’re not even going to get to the part where we actually install the wall anchor. Why’s that? Because there’s a question we’re asked even more commonly – and it’s all about the wall anchor drill bit size.
Table of Contents
What size drill bit for a drywall anchor?
What’s so difficult about matching the right drill bit with the wall anchor installation? Surely you can just consult a wall anchor drill bit size chart? Oh, if only those things were accurate! There are so many challenges here that we need to list them:
- There are many wall anchor types
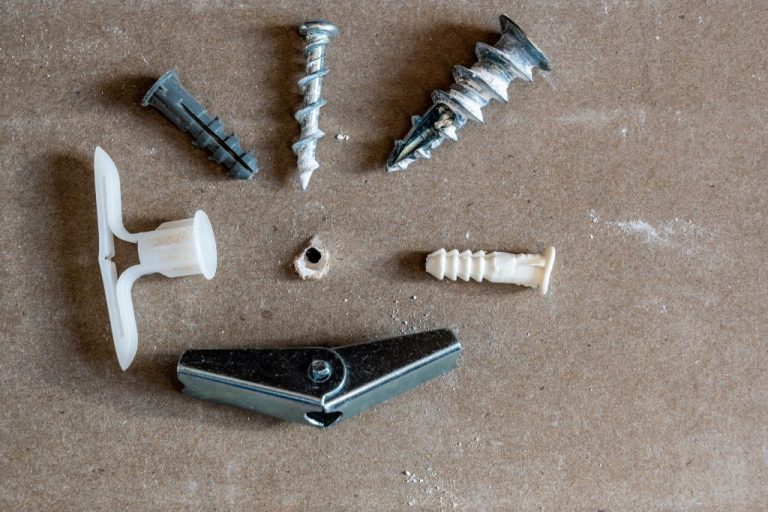
- These include plastic expansion anchors, toggle bolts, molly bolts, and many more
- There are many different wall materials
- Precision is crucial.
For just about every wall anchor you may have in your hot little hands, even the slightest variation in the size of that hole in the wall can totally ruin your project. Too small, and the anchor won’t be able to expand and grip the surrounding material correctly. Too big, and the wall anchor is obviously completely useless.
But it’s more than that. Get the drill bit size even a little bit wrong, and the load-carrying capacity of the wall anchor absolutely plummets – and so might your expensive bathroom mirror! When you do get it wrong, though, you’re damaging your wall, creating a safety hazard, and wasting precious time.
What size drill bit is for the anchor? Here’s how
There must be a way to get that wall anchor drill bit size just right. And we’re proud to present it!:
1. What’s your wall anchor type?
There are a lot!: plastic expansion ones, toggle bolts, molly bolts & more. Each one needs exactly the right-sized hole for its specific function.
2. Where are your instructions?
Luckily, most of them will come with packaging that lets you know what drill bit size you’ll need.
3. Measure the anchor diameter
If you’ve lost the instructions, don’t stress – we can figure it out for ourselves. It’s just a matter of precisely measuring the diameter of the anchor. You’ll need a ruler or a caliper to get it done, and typically the answer it gives you will be exactly the size of the hole you’ll need to drill.
4. What’s the wall made of?
However, the answer could depend a little on what you’re about to drill into. Drywall/plasterboard? Or wood, concrete, or something else? If it’s drywall, a hole that’s a tiny bit too big could muck everything up, but even drilling into the wood may result in a loose fit. In contrast, concrete could require a slightly heftier drill bit to plough through it.
5. What drill bit type do you need?
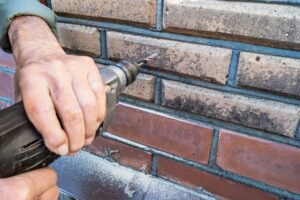
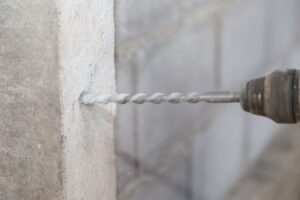
It’s not all about size, either. For instance, you’ll need a masonry bit for concrete or brick and a wood bit for those wooden walls. But you’ll get away with a standard drill bit for the drywall.
6. Choose too small, not too big
If you’re forced to estimate the drill bit size somewhat, here’s your mantra: Go too small, not too large. Once your hole is too big for the anchor, it’s completely useless – and you’ve got to patch up that wall. Get it too small, though, and it’s easy to just scale up the bit size by a notch.
7. Test your chosen bit
Once you know what drill bit size you need, let’s test it. It will require an inconspicuous area of the wall or the same material type, but testing makes perfect.
8. Drill, insert, and install
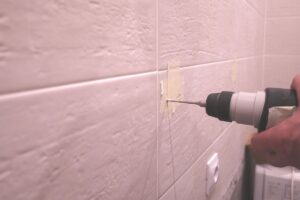
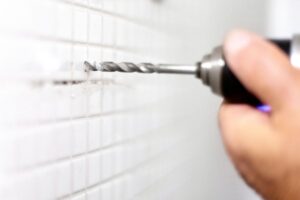
Finally, the time has come to carefully drill the hole and insert the wall anchor. You may need to tap the anchor gently until it’s flush with the wall surface. All that’s left now is to secure the screw or fastener into the wall anchor – and you’re done!
Need more help from our Handyman Guides?
How did you go determining that drywall anchor drill size? If you’re still struggling, it sounds like you need a little more help from our Handyman Guides! Sizing your drill bits for a wall anchor project means picking the right anchors and getting the installation technique just right, so why not reach out personally? Our Handyman Guides would be delighted to assist!
Founder of HandymanGuides.com and self-proclaimed “Mr. Fix-It”, Mike has countless years of experience building and tinkering with everything under the sun. He works as a local repair guy near Santa Monica, CA and when he’s not spackling drywall, he enjoys spending time with his wife and 2 daughters.

